
5 Tips for Water Droplet Photography
Back to Blog |Water droplet photography is a combination of the technical and the creative. Use these 5 tips from Skylum to help you create a magical masterpiece.
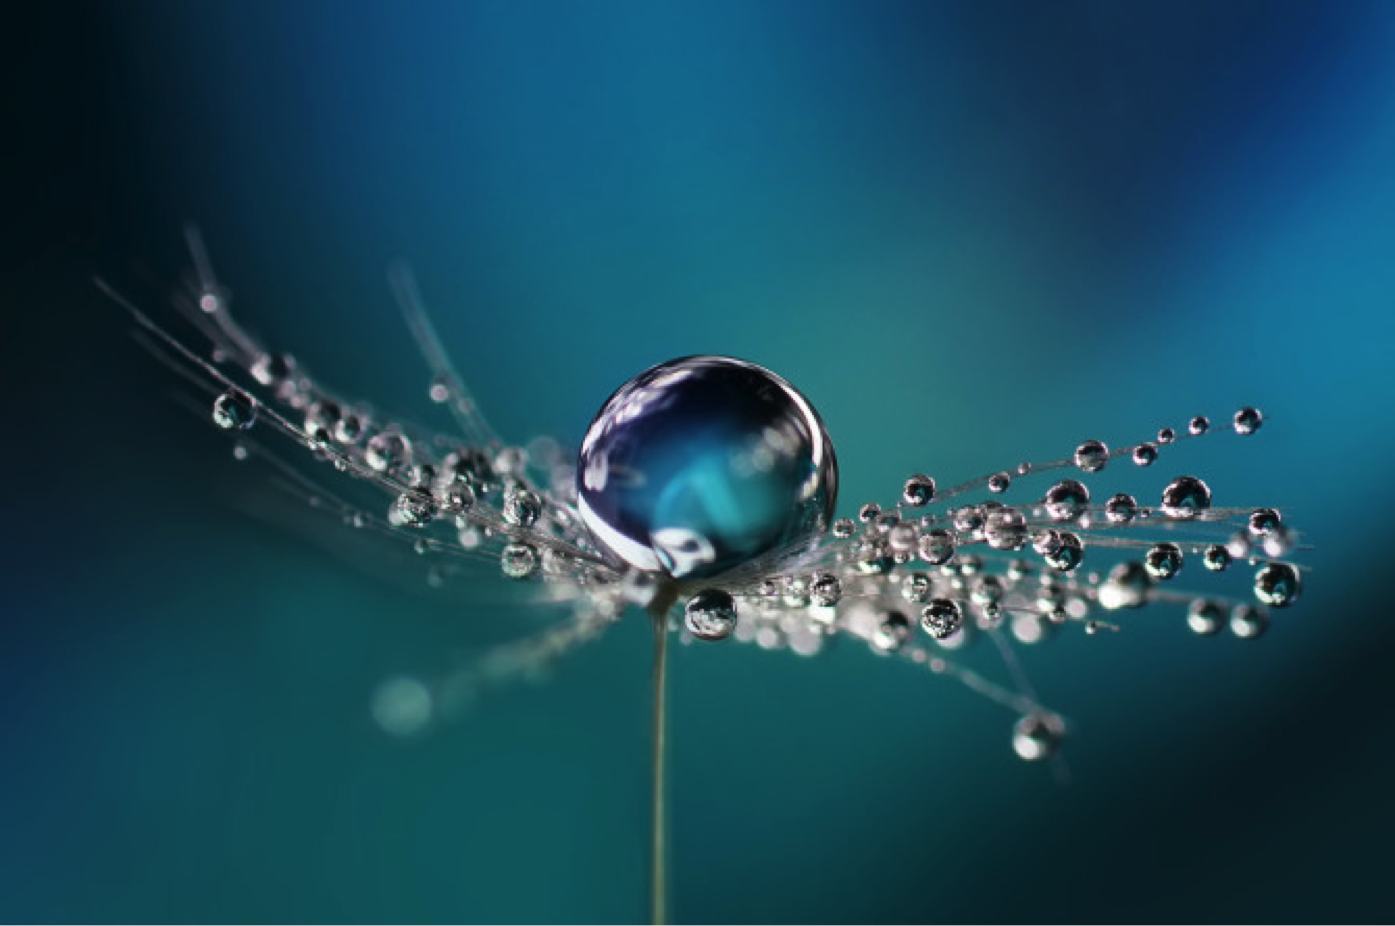
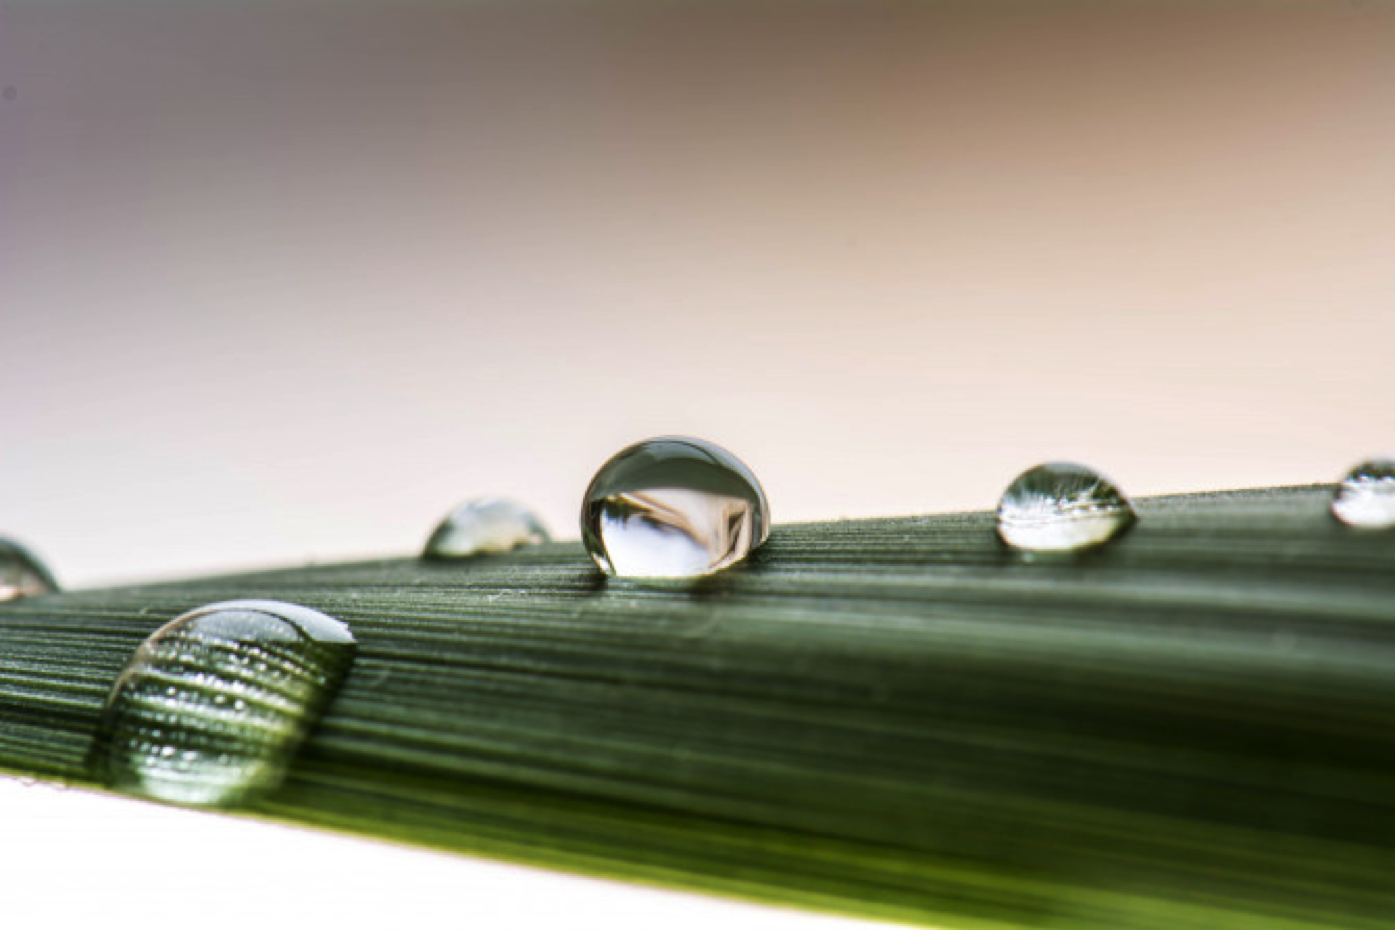
Water droplet photography calls for a balance of technique and creativity. You can get wild with colors and liquid textures — or you can go for a simple and pure appeal. It can be for complex research or done just as a fun experiment.
Regardless of why you’re looking to explore the world of water droplet photography, here are a few tips to get you started on capturing those technically sound droplets of beauty.
Equipment Options
For the most part, your choice on equipment depends on the anticipated outcome of your creative vision. The obvious — a camera you are comfortable with and tripod or way to stabilize the camera. A macro lens may be helpful so you don’t have to crop in on the image in post which may affect the image quality. You can use your on camera flash with white cardboards surrounding the droplets to reflect the flashlight, but we recommend using two external flashes with high-speed sync.
A shutter cable release is also great, so you don’t have to worry about touching your camera. If you are planning to create the droplets manually, you will need a container or bowl with water, an eyedropper, wet sponge or plastic bag filled with water and a small hole pricked in it, and something to mount the water dropping device of choice above the container/bowl. You can tape it to a board or table, attach it to a clamp stand, clamp it to a tripod or use any other way to sturdily hold your dripper in place. If you are serious about getting into droplet photography, you can also get a drip kit, which gives you complete control over the timing and size of the drops. It also connects to your camera and takes the shot for you.
Thoughts on Lighting
You are capturing the light that reflects on the water’s surface, so it’s up to you how you want your light to reflect. We suggest moving the position of the flashes around your container or bowl of water to feel out the light before the dripping begins. This will help you discover your creative vision. Also, you can try using different colored gels to affect the color of the light being flashed which will give the water a different glow. You can even mess with white or colored cardboards for reflection variations.
A Start for the Settings
It’s the flash that’s going to be freezing the image as opposed to the shutter speed on the camera, so using a quick flash like 1/32 flash power works well. The camera’s shutter speed can be set around 1/200 to avoid ambient light coming into the photo. You want your aperture to be as high as possible, as you are shooting up close and want to make sure all of the droplet is sharp and in focus. Balance the ISO accordingly to create a well exposed image that isn’t noisy. Try f/11 with an ISO of around 400. Experiment with your settings and find your own perfect balance to the technical parts of shooting your creative image.
Focusing On the Dripping Point
Hold an object, like a pen or utensil in the water where you plan for your water to drip. Then manually focus your camera on the object you placed in the water. Once focused, you are ready capture the beauty.
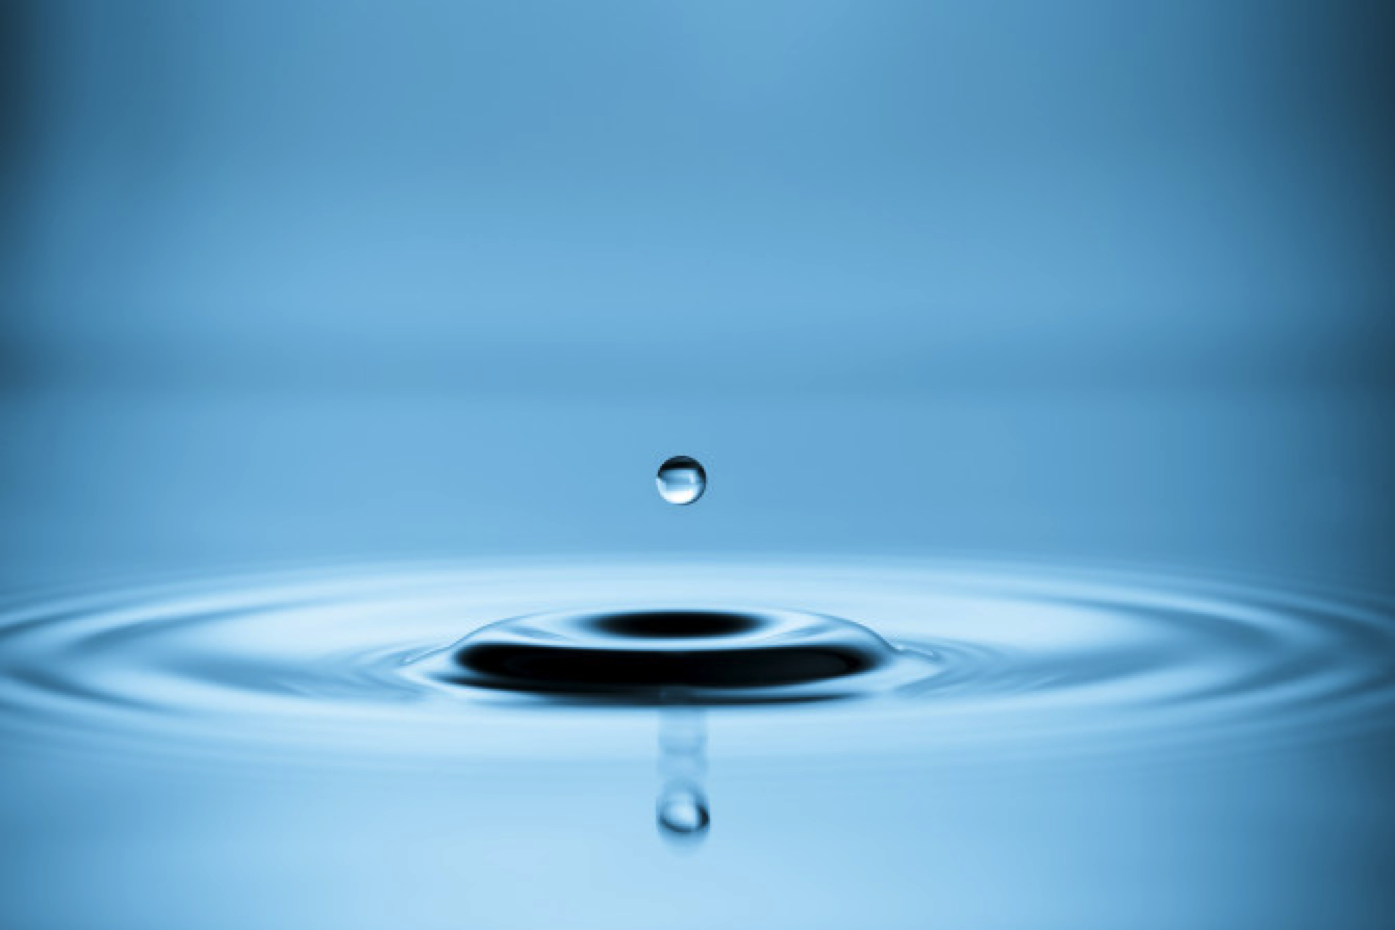
The Perfect Timing
Unless you are using a drop system in which you can control all the elements –– there is no perfect timing. It may take a couple of shots and some practice. Or you may get that perfect droplet you were wanting to capture on the first shot. Like all things, just have fun with it.
It’s time to go drip and snap away. Be experimental with your backgrounds and backdrop colors. Move your lighting around and change the flash locations –– and colors. Use different liquids, like milk or oils, to produce different drops. Add colors to your liquids –– do one color for the drips and one color for the liquid at the base. Create multiple drops at once (like two holes in a plastic bag) or change the pace and size of the drops.
Once you’ve taken the photos, use different post edits to create sharper images or fill in with rich colors or deep shadows. You can even turn the photos to black and white or layer with double exposure backgrounds in software like Luminar. From all of us at Skylum, have fun getting crazy and get creative!
Credits:
Skylum
See full article here